Designing? Check, refining? Check, crafting? Checked. After you have made significant success on those points we mentioned, it is now the right time to present your pins with the creativity it deserves.
How can this be achieved, you ask?
Well, a perfectly designed Enamel pin backing card would do the trick. These backing cards can skyrocket your product visibility, thereby assisting your brand to get some spotlight too.
In this article, we are going to help you do just that. We are going to provide exclusive tips for your Enamel pins backing cards. Now, let's get right to it, shall we?
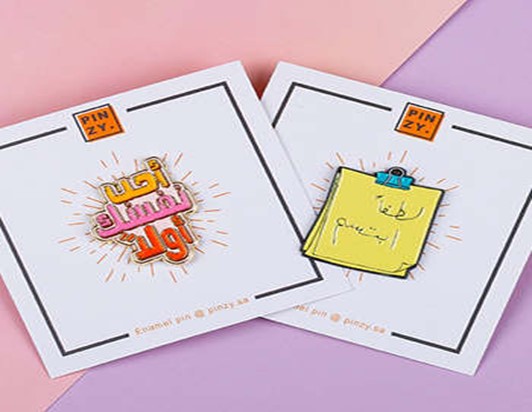
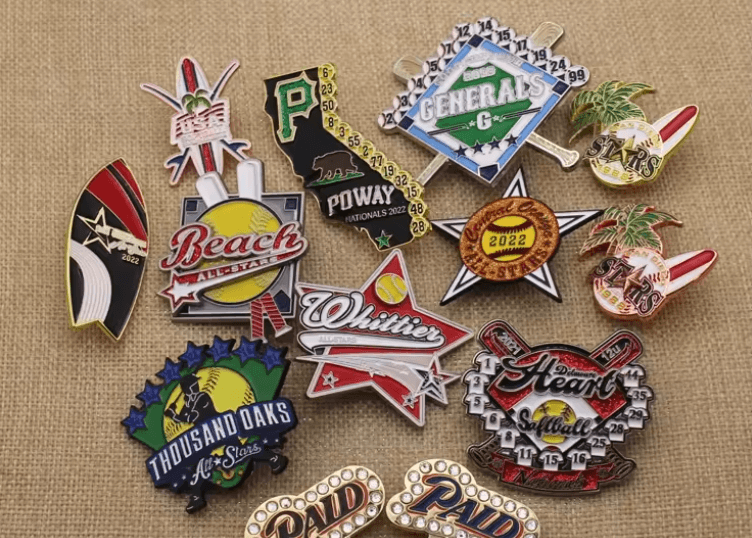
Photo by Lucy Ford from My Enamel Pins
Purpose of Backing Cards
Before we fully talk about the 'Why,' let’s first talk about the 'What.' A backing card is made from card-based material or paper (thicker than the usual business card) that can be placed behind enamel pins just to give them a unique design or backdrop. Backing cards are known to increase the look of your enamel pins or other accessories it is on, and this helps them sell out faster than normal. Below are some of the purposes of backing cards;
SOCIAL MEDIA PRESENCE
With over five billion social media users today, we can say having a social presence is best for your brand and business, bus how best can you make this possible? I guess you already know the answer to that. Just place your brand's social media links on your backing card and see the magic happen.
There is an 80% chance that your customers/prospects have a social media handle for them to be able to follow your pages and keep tabs on new enamel pin designs and products that you bring out. You can take advantage of this and also promote your enamel pins on these social media platforms, increasing your sales with more customers. You should know that backing cards can also be used to increase sales online as well as physical sales.
PERSONALIZED PACKAGING
Do you have any difficulty increasing your brand's customer engagement and loyalty? Then you should try out enamel pins backing cards. They serve as a platform for adding a personalized message that reflects what your brand is all about, and with this; you are sure to reach your customers with ease.
In this present era, you would have heard about personalized packaging in one or two business discussions you met yourself. Then you should know that a simple 'Thank you' message can go a long way with your customers, and where can you convene such a message? -- On your backing card.
You can put your brand name and logo on the backing card. Not only can you add the 'Thank you' message, but you can also put in a quote or your brand's Hero Statement.
BRANDING
It is a no-brainer that branding impacts your sales, whether positively or negatively, depending on if it is done right. Backing cards play an important role when it comes to branding.
Your customers would be able to see your brand name, logo, and brand colors, increasing your brand visibility in the process. With enamel pins backing cards, your customers will take your brand wherever they go, staying in their minds and hearts for a long period.
Oh, and you can even secure returning customers also. They will have you in mind if they decide to buy enamel pins.
What should you include on Enamel Pins Backing Cards?
We have said that backing pins helps in a brand's social media visibility, but how? This is because of the details that are contained on the card. These are what you should include on your backing cards;
- Your Brand Name and Logo
As a business individual planning to use backing cards for outreach, it's not rocket science for you to know you have to put in your brand name or logo design. Not just including it in there; it has to be visible so that your customers can be able to see it clearly.
It can be placed boldly at the top of the back card or just right below it if you are the more subtle kind of person. After placing the identity, you would have to include where they could find that identity, meaning your website address.
The website address makes it possible for customers to know and learn more about you and get more pins for themselves.
Here is a tip: make sure that the design complements the logo. This means the tone and the look should be just right with your brand and the product you are selling.
- Your Social Media Handles
Mentioning this, times without numbers shows how important it is to have a social media presence.
Of course, you would have a ton of interesting content on your social media pages, and you would want your customers to view them, right? One way to do this is by sharing your handles with your customers by including them on your enamel pin backing cards.
Here is a tip: Make use of innovative template designs to display your social media pages for your customers. They should be more than ready to dive into your handles.
- You have any Event/Promotional activity/Product Launch, put it there
We think this is pretty much self-explanatory. Share exclusive and valued details of events on your backing card, not only events but things that interest your audience, like a contest, product launch, or an upcoming promotional activity you name it.
Here is a tip: You can design and print your custom hashtag for social networks on your backing card.
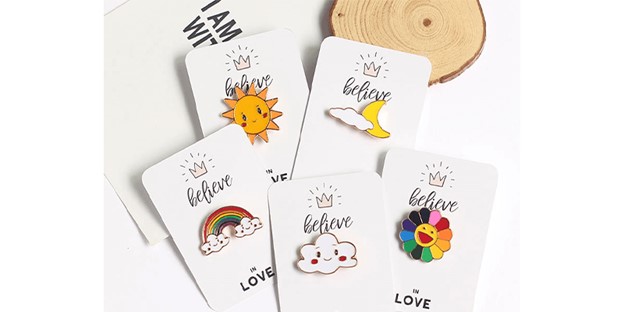
Photo by Robin Brown from Vivipins
Enamel Pins Backing Cards tips
If you are a starter when it comes to making use of backing cards for your brand, here are some key tips you should familiarize yourself with;
- Shape: Custom Shape, square, or rectangular.
- Size: 3″ x 3″, 2″ x 3″ or smaller.
- Sides: 1 or 2 sides customization. 2-sided customization gives one of the most efficient results.
- Color: White and Black or Full Color.
- Design: Should be an extension of the pin design or brand.
Conclusion
Now, you should be packed and loaded to make a professional, appealing, and effective enamel pin backing card for your brand. Want more tips and information on backing cards? You are sure to find articles related to Enamel Pins Backing Cards | Exclusive Tips on this website.

Article written by
Simon DavisAwesome! Share To :
Receive our news
Best 8 Badge Reels Manufacturers To Custom Your Own Badge Reels
7 Best Custom Keychain Companies In Canada