Table of content:
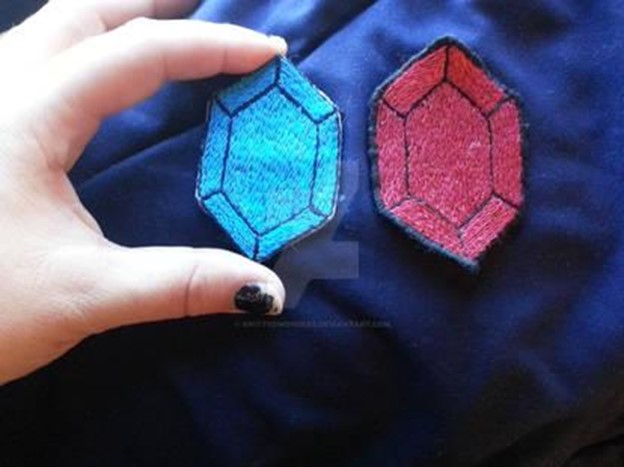
Image Source: https://www.deviantart.com/knittedwonders/art/Rupee-iron-on-patches-683036741
If you love iron-on patches and have many of them on your clothes, it’s easy to have second thoughts about them along the way.
Whether you are giving your favorite jeans a jazz-up or giving a new life to your favorite backpack, patches do the job for you.
But sometimes, you might have a change in your heart and want to remove or replace them from your garments. We all change, and with us, our patches must too!
In this blog, we will learn some easy tips and tricks to remove iron-on patches from your clothes. In here, we are going to share some methods and tips that will make this process look like a walk in the park for you. So, read on, grab your tools, and let's get those patches off!
What Are Iron-On Patches?
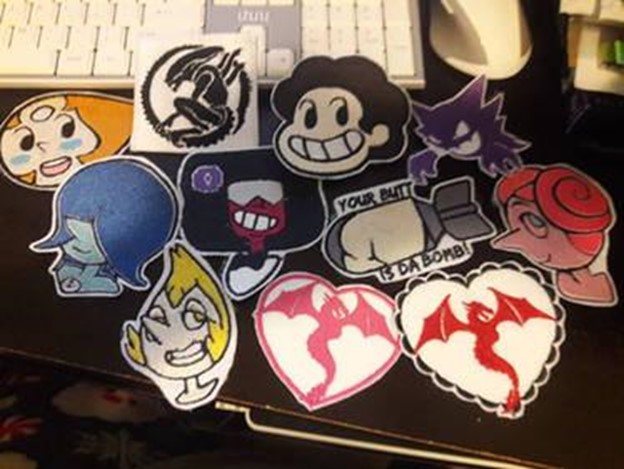
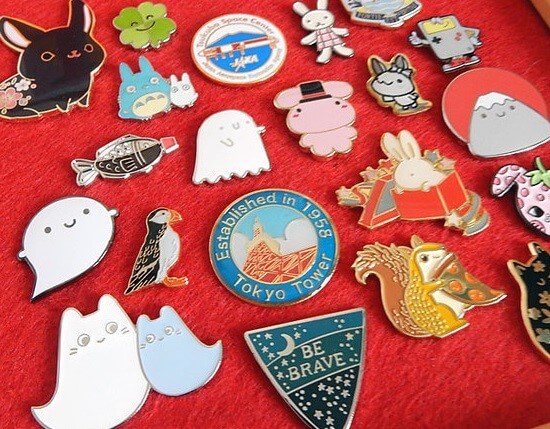
Image Source: https://www.deviantart.com/aleushadrake/art/iron-on-patches-781051205
Iron-on patches are specially-made stickers designed to stick on your clothes. Instead of sticking them on with glue, you need to heat them up to make them stick! When you iron them onto a cloth, the heat melts the special material on the back of the patch, making it stick firmly to your clothes.
Now, why would someone want to take off these cool patches? Well, sometimes you might get bored of the old design, or maybe the patch got a bit worn out and doesn't look as great anymore. Or perhaps you found an even cooler patch you want to put on instead!
It's easy to understand that just like we change our outfits and shoes, we might want to change the stickers too. And if you are one of those who want to stay on top of the trend game, learning how to remove iron-on patches is going to be a very helpful skill that you will learn in a few minutes of reading this blog.
Preparing for Iron-On Patch Removal
Image Source: https://www.pexels.com/photo/crop-person-in-sportswear-on-street-5604022/
Before you begin the process of removing an iron-on patch, you need some simple tools!
Luckily, most of the tools we will mention here are easily found in any household. Don’t worry if you miss one of two things, they are readily available in the market.
You need an iron, a thin cloth, and a pair of tweezers; that's it!
Now, let's get your clothes ready! Make sure you choose a flat surface where you can lay out your clothing. Also be sure that the area around the patch is clean, dry, and smooth. If there are wrinkles on the fabric, you might want to give it a little iron before starting the process.
Let us remind you here that you always have to check the heating level of the iron that you are using. Once you have these tools with you, you are all set to become a patch-removing guru!
Step-by-Step Guide to Remove Iron On Patches
Here is a simple, step-by-step guide to removing iron-on patches like an expert! The process might seem a bit long but it’s super easy.
-
Heat the Iron:
Turn your iron on to a medium heat setting. Remember, we're not burning things up, so we don't want it too hot!
- Cover Up the Sticker Surface:
Place your wax paper or thin cloth Place your wax paper or thin cloth over the patch. The cover will provide a shield to the sticker surface as well as adjacent fabric.
-
Iron Time:
Gently press the iron on top of the shielded patch and keep waiting for up to 15 seconds.
-
Peel Away:
Now, use your tweezers to carefully peel the edge of the patch. If it's still sticking, heat it again with the iron for another 15 seconds.
-
Check the Fabric:
Different clothes need different care. Tough fabric like denim doesn’t require any special care, but if you have silk or polyester, remind yourself again and again to keep the heat gentle. Warm is enough!
And there you go! With these simple steps, you'll have that patch off in no time.
Tips for Detaching Iron-On Patches Without Damaging Your Clothes
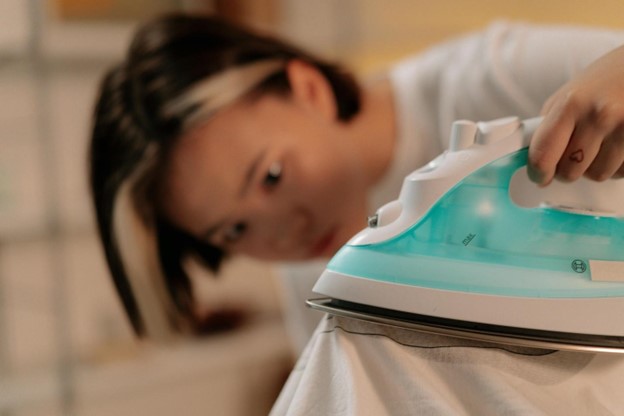
Image Source: https://www.pexels.com/photo/selective-focus-photo-of-a-woman-using-a-flat-iron-7705334/
The primary reason you are removing the iron-on patch is that you still want to use the fabric. So, if you damage the cloth beyond repair, removing the patch would be useless. Let's learn some tips to take care of your clothes as you follow the process of removing the iron-on patch.
-
Let it Cool Down:
After you use the iron, wait for the patch to cool down. It's like letting a cake cool before you cut it – it makes things easier.
-
Gentle Does It:
If your fabric is delicate, like a special occasion dress, use the iron gently. The warm iron might seem harmless but it can damage your delicate fabric without giving you second chances.
-
One Step at a Time:
Don’t rush when dealing with bigger patches. Remove it bit by bit without rushing into the act.
-
Patience Please!
If the patch sticks on, don't get frustrated. Apply a bit more heat carefully, like slowly warming up leftovers so they don't get burnt.
Keeping these tips in mind will help you remove patches smoothly and keep your clothes in great shape.
Fixing Patch Removal Mistakes
No one is perfect at first, if there is a mishap with the fabric or the patch itself while removing it, don’t worry at all. The good news is, you can fix it all. Let’s learn some tips to fix the mistakes while removing a sticker.
-
Sticky Situation:
Many a time, a sticky substance is left behind as you remove the sticker. All you need is some alcohol and a cloth. Dampen the cloth with a small amount of alcohol and gently rub it on the glue. You will see the magic!
-
Heat Marks:
Did the iron leave a shiny mark on your clothes? You can fix that! Just place a damp cloth over the mark and iron it again on a lower heat setting. Do you see how simple it was?
-
Color Fade:
If the fabric looks a bit faded where the patch was, here's a trick. Color in the light area with a fabric marker that matches your garment.
-
Fabric Tears:
Oh no, did the fabric tear a little? Grab some fabric glue and a small patch or piece of fabric that matches your garment. Place it behind the tear, apply some glue, and press it down.
Caring for Your Garments after Patch Removal
After you remove the patch, it's important to take care of your cloth to make sure it stays in great shape. Here's how you can pamper your clothes after patch removal:
-
Washing Wisely:
When it's time to wash your garment, turn it inside out to protect the area where the patch was. Remember to use cold water and a gentle cycle.
-
Drying Wisely Too!
Don't use a dryer for delicate fabrics. Instead, just let it hang in an open space and dry naturally.
-
Ironing Methods:
Being gentle is the key. Don't heat the iron too much and don't press the iron too hard. If the fabric is thin, put another thin cloth on top of it to make sure it doesn't get damaged.
-
Checking Spots:
After washing and drying your fabric. If you see any rough spots or loose threads, gently trim them with scissors or use a lint roller to clean them up.
Key Takeaways:
-
Removing iron-on patches is an easy process. You can do it safely and effectively with the help of the right tools and techniques.
-
Preparation is key: gather the tools and prepare the garment before removing the patch.
-
Gentle handling is important, especially for delicate fabrics, to avoid damaging your clothes.
-
There are multiple ways to fix mistakes made during patch removal, such as sticky glue or fabric damage.
As your favorite destination for iron-on pages, we would love to not only assist you in choosing the patches you love but also take care of them in a professional manner. We are just a message away for any assistance or advice!
References:
1- https://www.wikihow.com/Remove-Iron-On-Patches
2- https://brandsick.com/blogs/guides/removing-iron-on-patches
3- https://sewingmachinebuffs.com/how-to-remove-iron-on-patches-from-clothing/-

Article written by
Simon DavisAwesome! Share To :
Receive our news

Best 9 Metal Business Card Manufacturers To Custom Your Own
How to DIY Enamel Pins at Home?